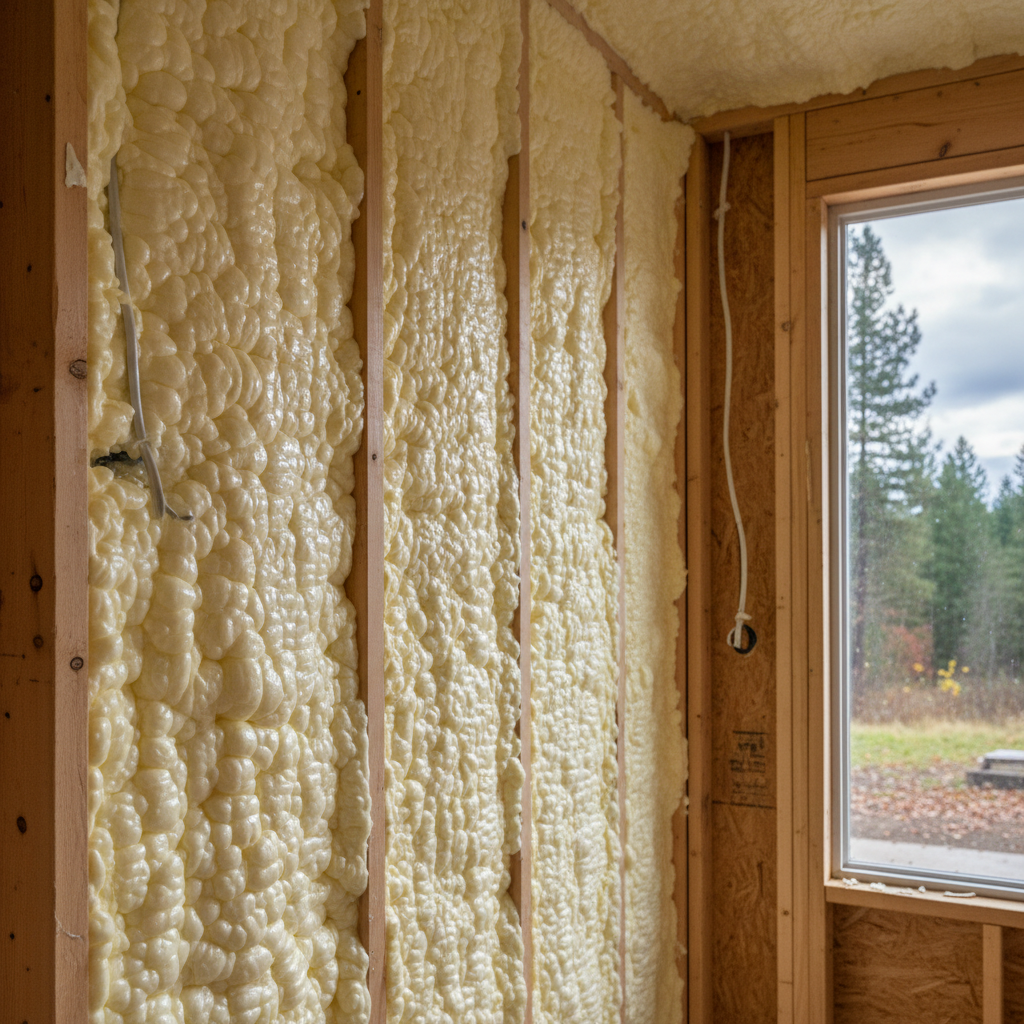
Alright, let's talk about open-cell spray foam. I get a lot of calls from folks around Spokane asking about this stuff, and a common question always comes up: "Can I just do this myself?" It's a fair question, especially with all the DIY videos out there these days. But here's the straight scoop: while you can absolutely handle some parts of an insulation project, putting in spray foam usually isn't one of them. Let me break down what you need to know before, during, and after, and where your DIY efforts are best spent.
Before the Spray Foam: Your DIY Prep Work
Before any spray foam even touches your walls or attic, there's a ton of prep work you can do yourself. This isn't just about saving a buck, you know; it's about making sure the job goes smoothly and the insulation performs its best. You're essentially creating a clean, safe canvas for the pros.
- Clear the Area: This is a big one. Whether it's an attic, a crawl space, or an unfinished basement, you need to get everything out of the way. Old insulation, storage boxes, debris — clear it all. The less stuff we have to move, the quicker and cleaner the job will be.
- Seal Big Air Leaks: Before insulating, you want to stop major drafts. Think about sealing up big gaps around plumbing stacks, electrical conduits, and chimney chases. You can use caulk, expanding foam (the kind from a can, not the spray foam we're talking about here), or even some rigid foam board for larger holes. This is crucial for energy efficiency, and it's something you can definitely tackle.
- Check Ventilation: Especially in attics, make sure your soffit and ridge vents are clear and working. Open-cell foam expands a lot, and you don't want it blocking your ventilation pathways. If you're unsure, now's the time to clean them out or add baffles.
- Control Moisture: Spokane's pretty dry in the summer, but those damp springs and falls can bring moisture. Make sure there are no active leaks in your roof or plumbing. Any moisture issues need to be fixed *before* insulation goes in. You don't want to trap moisture in there.
- Protect Everything: Cover anything you don't want foam on. Drop cloths, plastic sheeting — protect windows, floors, and anything else in the vicinity. Spray foam is sticky, and once it's cured, it's a real pain to remove.
During the Project: Where Pros Come In
Okay, so you've done all your prep. Now comes the actual spraying. And this is where I'm going to tell you straight: leave this to the professionals. Seriously. This isn't like painting a wall or laying down new flooring. There are a few key reasons why you shouldn't try to DIY open-cell spray foam:
- Specialized Equipment: We're not talking about a can from the hardware store. Professional spray foam rigs are complex, expensive machines that mix chemicals at precise temperatures and pressures. Get it wrong, and the foam won't cure correctly, or worse, it could be dangerous.
- Chemical Handling & Safety: You're dealing with chemicals. Without proper training and safety gear — full respirators, hazmat suits, ventilation equipment — you're putting yourself at serious risk. The fumes during application are no joke.
- Application Technique: It looks easy in a video, right? Just point and spray. But getting an even, consistent layer, especially around joists, wires, and pipes, takes practice and skill. If it's too thin, it's not effective. If it's too thick, you're wasting material and potentially causing issues with structural elements or future access. We've seen plenty of DIY attempts where the foam is lumpy, inconsistent, or just plain wrong.
- Building Codes & Inspections: In Spokane, like anywhere else, insulation needs to meet certain building codes. A professional installation from a company like Spokane Spray Foam Insulation ensures it's done right and will pass inspection.
So, while you can handle the grunt work, the actual spraying is best left to folks who do it every day. It's an investment, and you want it done right the first time.
After the Spray Foam: Your Post-Project Checks
Once the pros are done and the foam has cured, there are still a few things you can do to ensure everything's shipshape:
- Visual Inspection: Take a good look. Does the foam look consistent? Are there any obvious gaps or thin spots? It should be a continuous, uniform layer.
- Clean Up: While we do our best to clean up, there might be a few bits of foam or plastic sheeting left over. You can handle the final sweep-up and disposal of any remaining debris.
- Monitor Performance: Over the next few days and weeks, pay attention to how your home feels. Is it more comfortable? Are your energy bills starting to drop? That's the whole point, right?
- Future Access: If you've insulated an attic, remember where things like electrical junction boxes or plumbing cleanouts are. While open-cell foam is easier to cut out and repair than closed-cell, it's still a job. Plan for future access if you anticipate needing it.
Look, open-cell spray foam is an incredible product for making your home more comfortable and energy-efficient. It's especially great for older homes in neighborhoods like the South Hill where you've got all sorts of nooks and crannies that traditional insulation just can't seal up. Just remember to pick your battles. Do the prep work yourself, save some money, and then bring in the experts for the actual spray. You'll be glad you did.