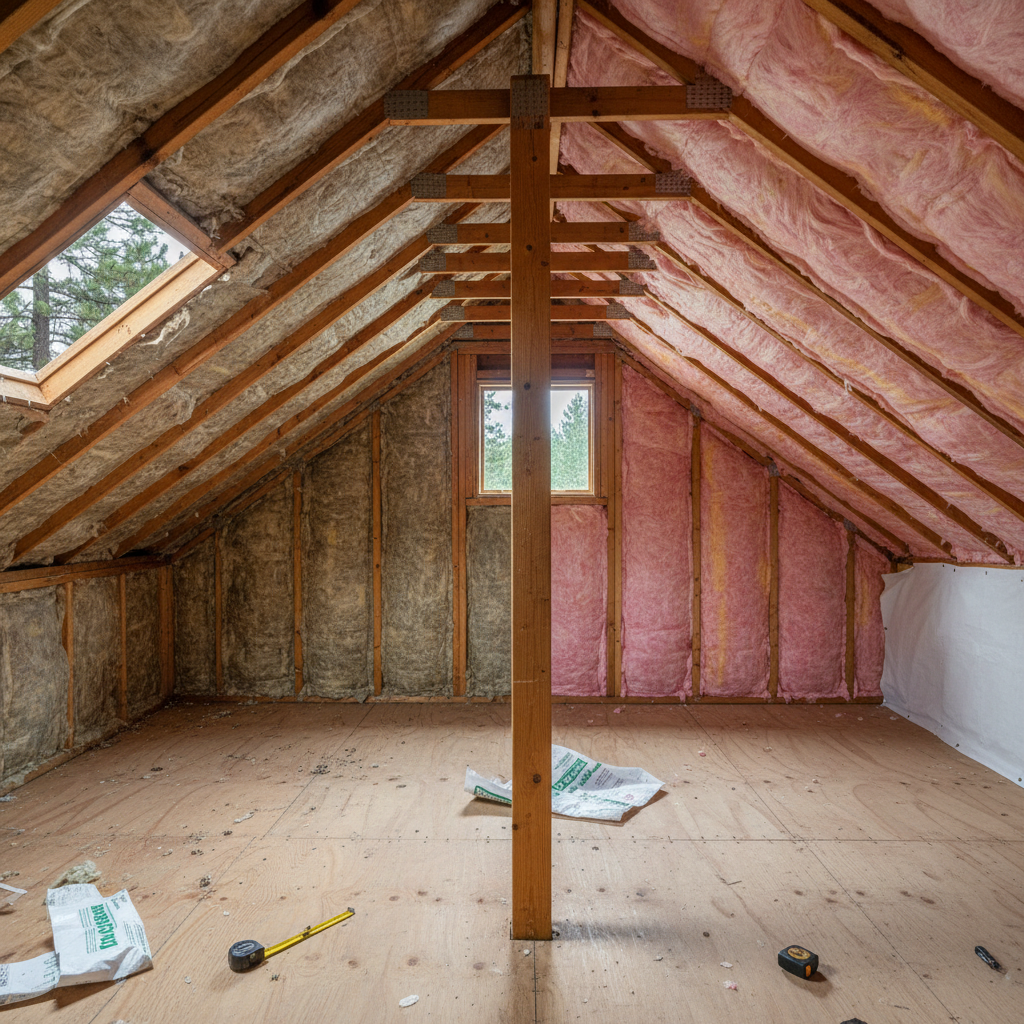
Batt Insulation: How We Put It In
So, you're thinking about batt insulation for your place — maybe the attic, walls, or even between floor joists. Good call; it's a solid, pretty affordable option. But here's where people often get a little mixed up: there isn't just one way to install it. We're talking about two main methods: friction-fit (that's the stuff without a facing) and faced, which usually gets stapled into place. As a contractor who's seen countless homes around Spokane, from those charming old South Hill bungalows to the newer builds out in Liberty Lake, I can tell you both have their upsides and downsides. Let's dive in.
Friction-Fit (Unfaced) Batt Insulation
Alright, friction-fit. What exactly is it? Basically, these are insulation batts that don't have a paper or foil layer on them. You cut them precisely, then just snug them right into the space between your wall studs, floor joists, or attic trusses. The "friction" part means they stay put because of the tight pressure against the framing. No staples, no glue – just a really good fit.
Cost
Generally, unfaced batts cost a little less per square foot than faced ones. You're not paying for that extra paper or foil layer, which can really add up on a big project.
Durability & Maintenance
Once it's in correctly, it's pretty tough. It won't fall out. The big thing to watch out for here is moisture. Unfaced batts don't come with a built-in vapor barrier. If you're putting this in an exterior wall, you absolutely need a separate vapor barrier installed on the warm-in-winter side of the wall (that's the inside, for us here in Spokane). This stops moisture from getting into the insulation and causing headaches like mold or a drop in R-value. Maintenance? Not much, unless it gets wet or someone messes with it.
Appearance
Well, it's insulation, right? It's not really meant for show. If it's in an unfinished basement or attic, it'll just look like fluffy fiberglass or rock wool. Inside a wall, drywall covers it up.
Installation
This is where being precise really matters. You've got to cut these batts perfectly to fill the cavity. Any gaps, any squishing, and you're losing R-value. It's not brain surgery, but it does take patience and a sharp utility knife. If you don't get a tight fit, you'll have air gaps, and that's like leaving a tiny window open all the time.
Faced (Stapled) Batt Insulation
Now, let's talk about faced batts. These have a paper (usually kraft paper) or foil layer on one side. That facing typically has flanges – extra paper on the sides – that you can staple to the sides of your studs or joists. The facing itself often acts as a vapor barrier, depending on what it's made of.
Cost
A little more expensive upfront than unfaced batts. You're paying for that facing and the extra step in manufacturing.
Durability & Maintenance
Very durable when you staple it in correctly. The facing helps keep it in place and offers a bit of protection. The kraft paper facing also works as a vapor retarder, which is super important in our climate with those cold, damp winters. This means you might not need a separate plastic vapor barrier, which simplifies things a bit. Foil-faced batts give you an even stronger vapor barrier and can even add a radiant barrier effect if you install them with an air gap facing a dead air space. Again, maintenance is minimal unless it gets wet or critters get into it.
Appearance
Just like unfaced, it's not something you'll display. The paper or foil facing makes it look a little more finished than raw fiberglass, but it's still insulation that's going to be covered up.
Installation
This is often a bit easier for DIYers because the stapling helps hold it securely. You still need to cut it accurately, but you're not as reliant on a perfect friction fit. You just staple the flanges to the framing. The main thing is making sure the facing is on the right side (the warm-in-winter side) and that you don't squish the insulation too much when you staple.
Which One Should You Choose for Your Spokane Home?
Alright, so you're in Spokane. We get cold winters, sometimes wet, and hot, dry summers. Controlling moisture is a big deal, especially in walls and crawl spaces. Our soil conditions can also mean higher humidity in basements if they're not sealed up right.
For most homeowners, especially if you're doing the work yourself or just want that extra bit of reassurance, I generally lean towards faced and stapled batt insulation. Here's why:
Vapor Barrier: The integrated kraft paper facing usually provides enough of a vapor retarder for our climate, especially in walls. This is a huge help in preventing moisture problems that can lead to mold and rot – nobody wants that, right?
Easier Installation: It's a bit more forgiving. The stapling helps ensure it stays put, cutting down on the chances of gaps or slumping over time, which can definitely happen with poorly installed friction-fit batts.
Consistent Performance: When you staple it in properly, you're more likely to get the advertised R-value because it's less prone to compression or gaps.
Now, that's not to say friction-fit is bad. If you've got an experienced installer who's super careful about cutting and fitting, or if you're putting it in an interior wall for sound dampening where a vapor barrier isn't needed, it's a perfectly good choice. But for exterior walls, attics, and especially crawl spaces, the faced product just gives you that extra layer of protection and simplifies the whole vapor control thing.
Ultimately, the best insulation is the one that's installed correctly. A batt that's put in poorly, whether faced or unfaced, just won't do its job. If you're unsure, or if you're dealing with tricky spots like rim joists or uneven stud spacing, sometimes it's best to call in a pro. We've seen it all at Spokane Spray Foam Insulation, and while spray foam is our specialty, we know a thing or two about batts too. Make sure whatever you pick, it's put in right to keep your Spokane home comfortable and efficient.